Press-on Nails Anyone Can Master

Introduction
Press-on nails have become a popular choice for individuals who want to achieve stylish and professional-looking manicures without the need for professional application. These artificial nails are designed to be easily applied and removed, providing a convenient alternative to traditional acrylic or gel nails.
Explanation of Press-On Nails
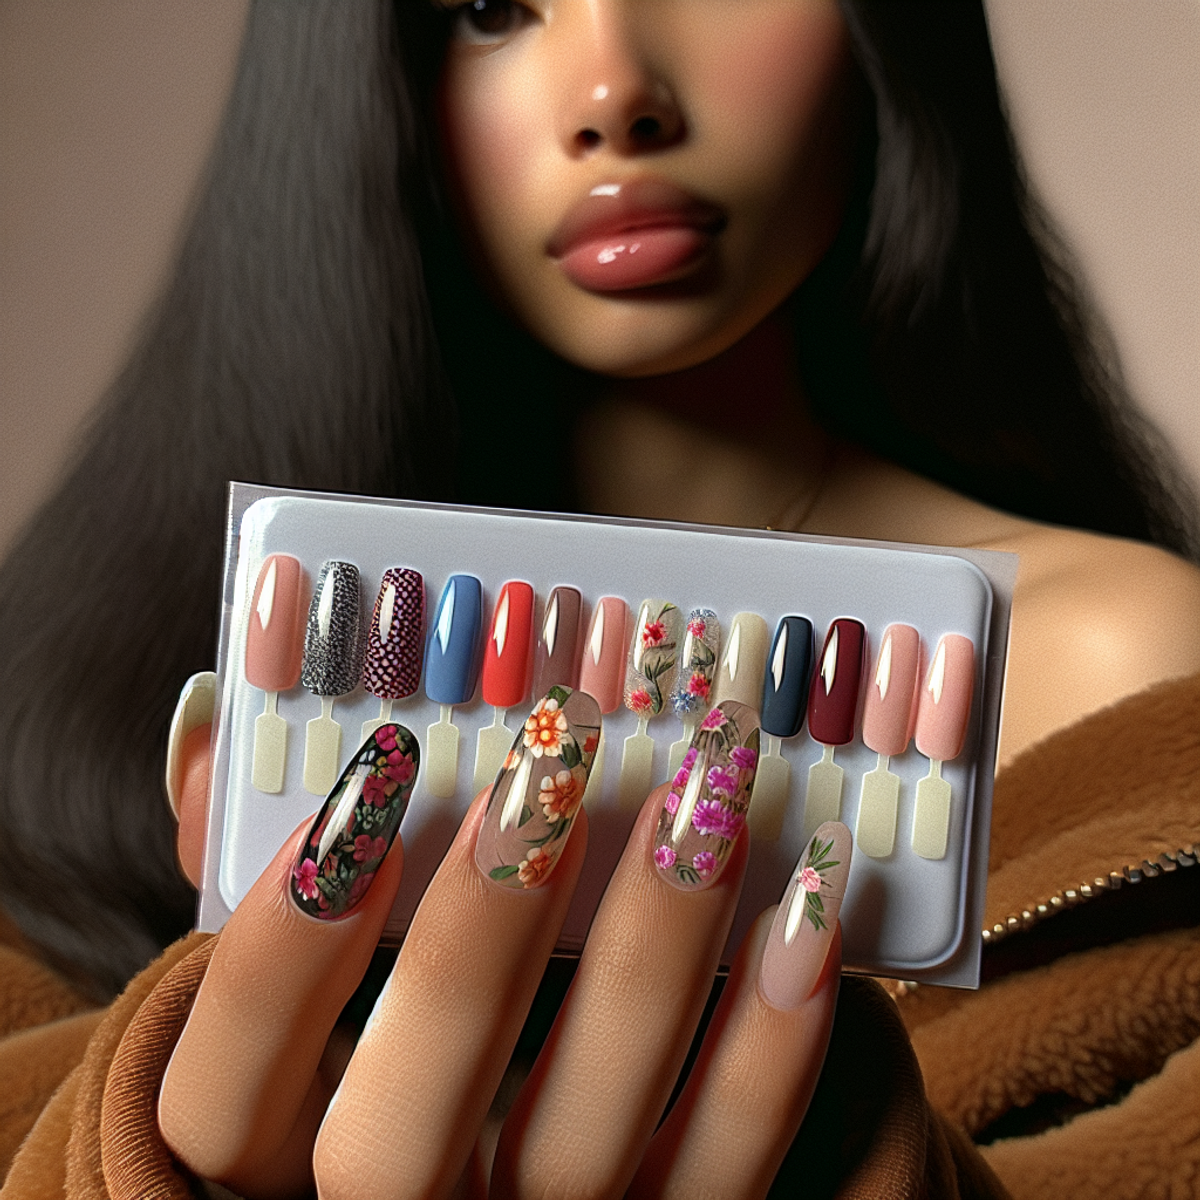
Press-on nails, also known as artificial nails, are pre-designed nail tips that can be attached to your natural nails using adhesive tabs or nail glue. They come in a wide range of shapes, sizes, and designs, allowing you to find the perfect fit and style for your desired look. Whether you prefer a natural and understated look or bold and intricate designs, press-on nails offer endless possibilities.
Benefits of Using Press-On Nails Over Traditional Acrylic or Gel Nails
There are several advantages to choosing press-on nails over traditional acrylic or gel nails:
- Convenience: Press-on nails can be applied in the comfort of your own home, saving you time and money on salon visits. You don’t need any special skills or tools to achieve a flawless manicure.
- Temporary: Unlike acrylic or gel nails, press-on nails are temporary and can be easily removed without causing damage to your natural nails. This makes them ideal for special occasions or when you want to change up your look frequently.
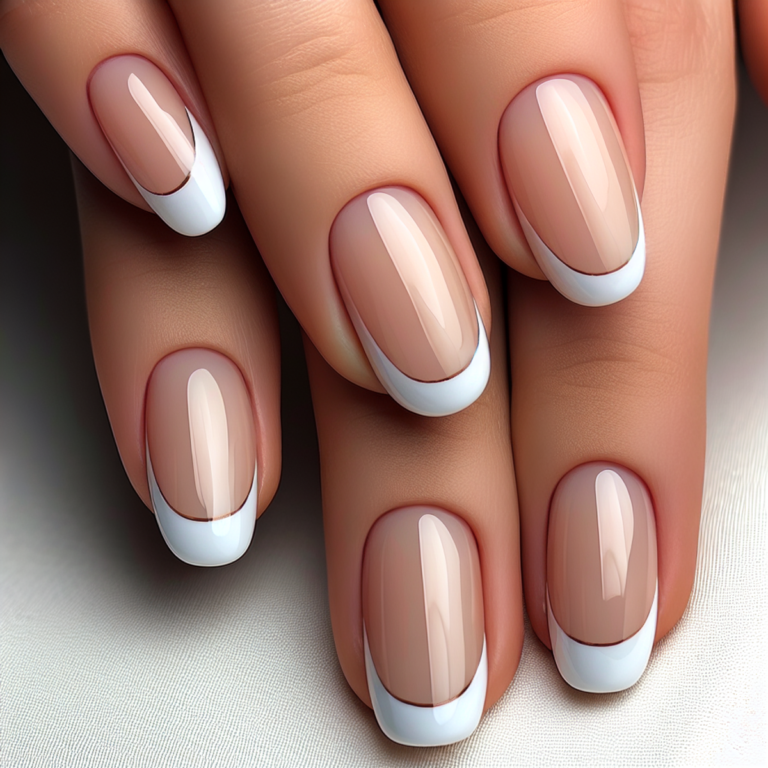
- Variety: Press-on nails come in a wide range of designs, colors, and finishes, allowing you to experiment with different styles without committing to a long-term manicure. From classic French tips to trendy patterns and glitter accents, there is something for everyone.
- Affordability: Press-on nails are an affordable option compared to salon treatments. You can find high-quality press-on nail kits at reasonable prices, making it a budget-friendly option for those who love changing their nail looks frequently.
With their ease of use, versatility, and affordability, press-on nails have revolutionized the way people approach manicures. In the following sections, we will explore how to:
- Choose the right press-on nails
- Prepare your nails for application
- Master the art of applying them with ease
- Create intricate designs
- Prolong their lifespan
- Safely remove them
So let’s dive in and discover the world of press-on nails!
How to Choose the Right Press-On Nails
When it comes to selecting the right press-on nails, there are a few crucial factors to consider, such as achieving the perfect fit and finding a style that suits your preferences. Here’s a comprehensive guide to help you make an informed decision:
1. Factors to Consider When Choosing Press-On Nails
- Begin by assessing the length and shape of your natural nails. This evaluation will help determine which press-on nail shapes will best complement them, ensuring a seamless and natural appearance.
- Additionally, think about the occasion or event for which you are applying the press-on nails. For instance, subtle and classic designs may be suitable for professional settings, while bold and vibrant designs can be perfect for special events or celebrations.
2. Tips for Finding the Perfect Fit
- Carefully measure your nails to match them with the correct press-on sizes. It’s essential to select press-on nails that closely match the width of your natural nails for a seamless look.
- Another useful tip is to look for customizable options. These allow you to trim or file the press-on nails to achieve a precise fit if necessary.
3. Exploring Different Designs and Colors
- Experiment with various designs, patterns, and colors to express your personal style. From solid colors to intricate patterns and glitter accents, there are endless options available in the market.
- While exploring different designs, it’s worth considering seasonal trends and themes. Opt for vibrant hues in summer or festive designs during holidays.
By considering these aspects, you can confidently select press-on nails that align with your preferences, ensuring a stylish and comfortable fit for any occasion.
Preparing Your Nails for the Application Process
Press-on nails stick best to clean, dry, and oil-free natural nails. It’s important to get your natural nails ready before applying press-on nails to make sure they last longer and look better. Here’s what you need to do:
1. Remove Any Nail Polish and Residue
Start by taking off any nail polish or leftover bits from your nails using a gentle nail polish remover. This will give you a clean surface for the press-on nails to stick to.
2. Trim and Shape Your Nails
Cut and file your natural nails so that they’re all the same length and don’t have any rough edges. This will help the press-on nails go on smoothly.
3. Push Back Your Cuticles
Use a cuticle pusher or orange stick to gently push back your cuticles. This will create a flat surface for the press-on nails to adhere to.
4. Lightly Buff Your Nails
Take a nail buffer and gently rub it across the surface of your natural nails. This will remove any shine and make them slightly rougher, which helps the press-on nails stay in place better.
5. Take Care of Your Nails
To make sure your press-on manicure lasts as long as possible, try these tips:
- Moisturize your hands and cuticles regularly with lotion or oil.
- Avoid getting your nails wet for too long or using harsh chemicals on them, as this can weaken the adhesive of the press-on nails.
By following these steps and taking good care of your nails, you can have beautiful press-on manicures that look amazing and stay on longer!
3. Mastering the Art of Applying Press-On Nails with Ease
When it comes to applying press-on nails, mastering the process can help you achieve a flawless and professional-looking manicure. Here’s a detailed step-by-step guide to help you apply press-on nails like a pro:
1. Preparation
Start by ensuring your natural nails are clean, dry, and free from any oils or lotions. Trim and shape your nails to your desired length and gently buff the surface to create a smooth base for the press-on nails.
2. Selecting the Right Size
Before applying the press-on nails, carefully select the appropriate size for each nail to ensure a perfect fit. This step is crucial for achieving a natural look and comfortable wear.
3. Application Method
There are different application methods for press-on nails, including adhesive tabs and nail glue. Adhesive tabs offer a temporary option that allows you to change your nail look as often as you like without any residue left behind. On the other hand, nail glue provides a more long-lasting hold.
4. Using Adhesive Tabs
If you opt for adhesive tabs, start by peeling off the backing and firmly press the tab onto your natural nail. Then, remove the backing from the other side of the tab and carefully apply the press-on nail by pressing it down firmly.
5. Using Nail Glue
When using nail glue, apply a small amount onto your natural nail and carefully press on the press-on nail, holding it in place for a few seconds to ensure a secure bond.
Mastering these techniques will allow you to explore different application methods and find what works best for you, whether you prefer quick changes with adhesive tabs (like in this video) or long-lasting wear with nail glue (as shown in this tutorial). Additionally, if you’re interested in advanced application techniques and creative designs, this video can provide further inspiration.
4. Taking Your Press-On Manicure to the Next Level with Intricate Designs
Press-on nails are a great way to showcase your creativity and style. With these tips, you can create stunning nail designs that will turn heads:
Choosing the Right Designs
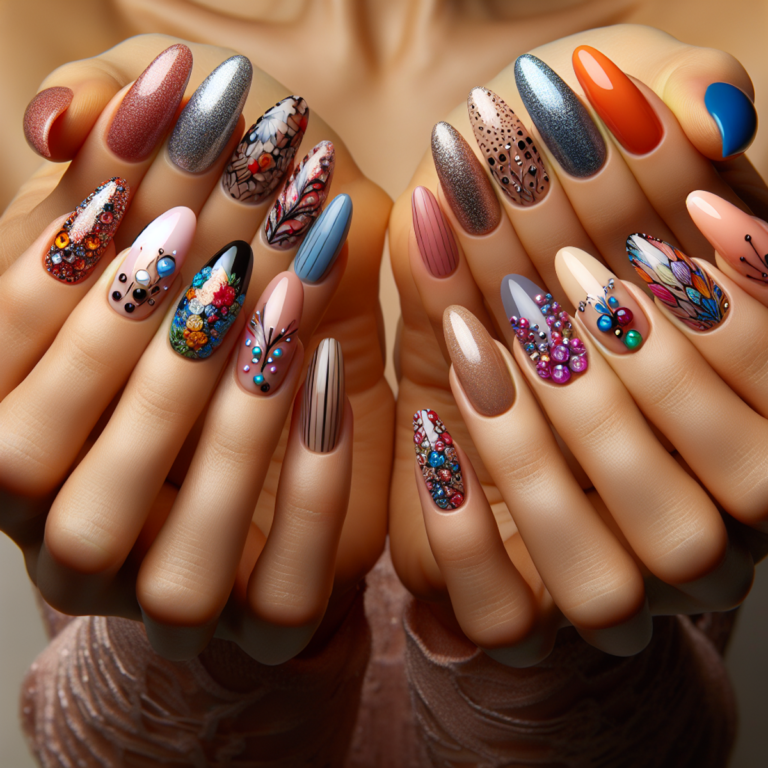
Look for press-on nails with intricate patterns, vibrant colors, and unique textures to serve as a base for your nail art.
Nail Art Tools
Invest in nail art tools such as dotting tools, nail brushes, and nail stamping kits to unleash your creativity. These tools allow you to create detailed designs with precision.
Embellishments
Experiment with embellishments like rhinestones, glitter, studs, and charms to add dimension and visual interest to your press-on nails.
Layering Techniques
Explore layering different nail polish colors or using nail art stickers to achieve complex and multi-dimensional designs.
Customization
Consider customizing your press-on nails by mixing and matching different designs to create a bespoke look that reflects your personality.
By incorporating these elements into your press-on manicure routine, you can take your nail artistry to new heights and make a bold fashion statement with ease.
5. Prolonging the Lifespan of Your Press-Ons: Maintenance Tips and Safe Removal
Maintaining your press-on nails is essential for getting the most out of your manicure and ensuring they last as long as possible. By following some simple tips, you can extend their lifespan and keep your nails looking fabulous. Here are some maintenance tips to consider:
- Prevent water exposure: Water can weaken the adhesive on your press-on nails, causing them to lift or come off prematurely. To avoid this, try to minimize activities that involve prolonged water exposure, such as washing dishes without gloves or soaking in a hot tub.
- Avoid excessive force: While press-on nails are durable, they are not indestructible. Avoid using excessive force when performing tasks like opening cans or scratching hard surfaces, as this can cause them to break or chip.
- Be mindful of nail products: Some nail care products, such as acetone-based removers or harsh chemicals, can damage press-on nails. Opt for gentle nail polish removers that are safe for artificial nails and avoid using products that contain alcohol or oils near the edges of the press-ons.
- Regular maintenance routine: Take a few minutes each day to inspect your press-on nails for any signs of lifting or wear. If you notice any issues, use a small amount of nail glue to reinforce the adhesive and secure them back in place.
- Gentle nail care practices: Treat your press-on nails with care by avoiding excessive filing or buffing, which can weaken them. Instead, use a fine-grit file to shape them gently and apply cuticle oil regularly to keep your natural nails healthy.
When it comes time to remove your press-on nails safely, follow this step-by-step guide:
- Soak your nails: Fill a bowl with warm water and soak your nails for 10-15 minutes. This will help loosen the adhesive.
- Gently pry off the press-ons: Use an orange stick or cuticle pusher to gently lift the press-on nails from the sides. Be careful not to force them off, as this can damage your natural nails.
- Remove any residue: If there is any adhesive residue left on your nails, use a gentle nail polish remover or acetone-free remover to wipe it away.
- Moisturize and care for your natural nails: After removing the press-ons, apply cuticle oil or a nourishing hand cream to moisturize your natural nails and promote healthy growth.
By following these maintenance tips and safe removal methods, you can enjoy beautiful press-on nails for an extended period while protecting the health of your natural nails.
Conclusion
Press-on nails offer a temporary manicure option that combines style and convenience. Whether you’re looking for a quick way to enhance your nail appearance or want to experiment with different designs, press-on nails are the perfect solution. Here’s a recap of why you should give them a try:
- Temporary Manicure Look: Press-on nails allow you to achieve a salon-worthy manicure in minutes. With a wide range of designs and colors available, you can easily switch up your look to match your mood or outfit.
- Convenience: Unlike traditional acrylic or gel nails, press-on nails can be applied and removed at home without any special tools or professional assistance. They are ideal for those who lead busy lives or prefer to change their nail look frequently.
- Easy Application: Applying press-on nails is a breeze, especially when you follow our step-by-step guide. Whether you choose adhesive tabs or nail glue, you’ll be able to achieve a secure and long-lasting hold.
- Versatile Designs: Press-on nails offer endless possibilities for creativity and customization. From intricate nail art designs to simple solid colors, you can express your personal style in unique ways.
- Gentle on Natural Nails: Unlike traditional artificial nails, press-on nails do not require harsh filing or drilling on the natural nail surface. This means that they are less damaging and allow your natural nails to grow underneath.
So why not give press-on nails a try? They provide a temporary manicure option that allows you to embrace your creativity and style without the commitment of traditional acrylic or gel nails. With their convenience, versatility, and gentle application process, press-on nails are sure to become your new go-to for fabulous looking nails anytime, anywhere.
Now it’s time to unleash your inner nail artist and enjoy the beauty and convenience that press-on nails have to offer!
Note: Remember to always follow proper nail care and removal techniques to protect the health of your natural nails.


