Gel Manicure: What Is It & How To Get The Look

Introduction
A gel manicure is a popular nail treatment in the beauty industry. It involves applying gel nail polish and using a UV or LED light to cure it, creating a long-lasting and chip-resistant manicure. In this article, we will cover everything you need to know about gel manicures:
- Benefits of gel manicures
- Step-by-step process for doing a gel manicure at home
- Important safety guidelines for maintaining healthy nails
The goal of this article is to provide you with comprehensive knowledge about gel manicures, so you can make informed decisions about your nail care routine. Let’s get started!
Understanding Gel Manicures
A gel manicure is a type of nail treatment that involves the application of gel nail polish, which is then cured using a UV or LED light. Here are some key points to understand about gel manicures:
Definition
Gel manicures are a popular choice for individuals seeking long-lasting and durable nail polish. The gel polish is cured using a specialized UV or LED lamp, creating a hard and glossy finish that can last for weeks without chipping.
Differences from Traditional Manicures
Unlike traditional manicures that air-dry, gel manicures require the use of UV or LED light to cure the gel polish. This curing process provides a quicker and more durable finish compared to traditional methods.
Role of Gel Nail Polish and UV/LED Lights
Gel nail polish is formulated with ingredients that respond to UV or LED light, causing the polish to harden and adhere to the nail surface. The use of these specialized lights ensures that the gel polish maintains its integrity and longevity.
By understanding the process and components involved in gel manicures, individuals can make informed decisions about whether this option aligns with their preferences and lifestyle.
The Advantages of Gel Manicures
Gel manicures have become extremely popular recently, and it’s easy to see why. They offer a variety of benefits that make them the top choice for many people who want strong and stylish nails. Here are some advantages of gel manicures:
- Long-lasting wear: One of the main reasons people choose gel manicures is because they last so long. While regular manicures can start chipping after just a few days, gel manicures can stay looking great for up to three weeks without losing their shine or color. This is especially helpful for busy folks who don’t have time to constantly fix their nails.
- Chip resistance: Gel nail polish is designed to be tougher and less likely to chip than regular polish. No matter what you’re doing – typing, cleaning, or just going about your day – your nails will stay flawless for a long time.
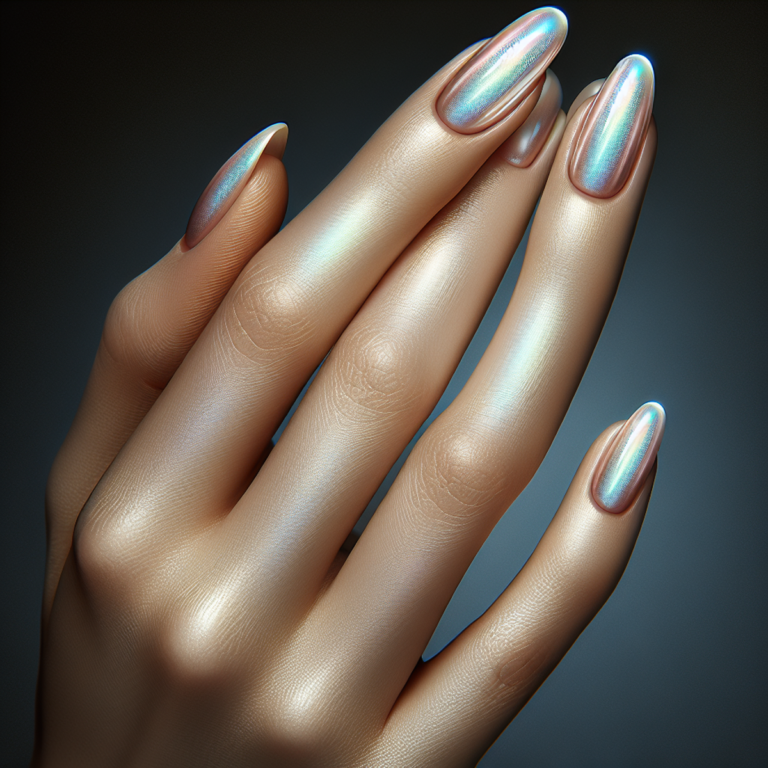
- Glossy finish: Gel manicures give your nails a super shiny and polished look. The gel polish creates a smooth surface that makes your manicure stand out. If you love having salon-worthy nails, gel manicures can give you that professional look right from home.
- Low maintenance: Once you’ve gotten a gel manicure, you’ll appreciate how little effort it takes to maintain them. Unlike regular polish that might need constant touch-ups, gel manicures stay perfect without any extra work needed. This is great for people who prefer simple beauty routines.
In summary, gel manicures have many advantages over regular ones. They last longer, resist chips better, have a glossy finish, and require less upkeep compared to regular polish. If you want nails that stay flawless for weeks, go for a gel manicure!
A Step-by-Step Guide to Achieving the Perfect Gel Manicure at Home
Getting a gel manicure at home can be a convenient and cost-effective option. Here’s a step-by-step guide to help you achieve salon-worthy results:
Step 1: Prepare Your Nails
Before diving into the gel application process, it’s crucial to prepare your nails properly. Follow these essential steps:
- Clean Your Nails: Start by ensuring that your nails are completely clean. Use a gentle nail polish remover to eliminate any traces of old polish. This step sets the foundation for a flawless application.
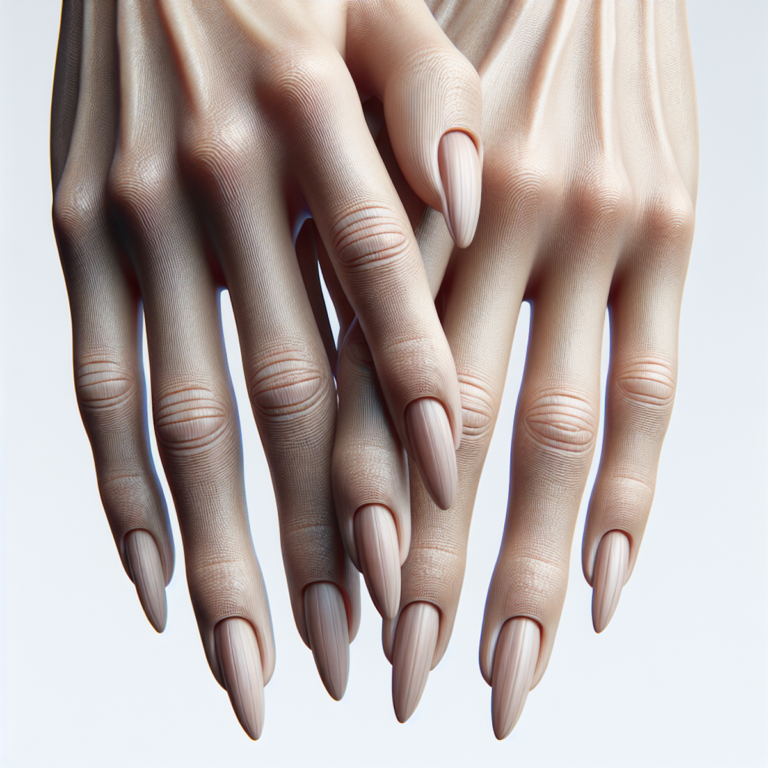
- Shape Your Nails: Next, shape your nails using a file to achieve your desired nail length and shape. Whether you prefer a classic square or trendy almond shape, shaping your nails is an important part of the preparation process.
- Push Back Cuticles: Gently push back your cuticles using a cuticle pusher or orangewood stick. This not only creates a neater look but also helps in preventing any lifting or peeling of the gel polish.
By diligently following these preparatory steps, you set the stage for a successful gel manicure application.
Ensuring that your nails are clean, well-shaped, and free from any previous polish is essential for achieving long-lasting and professional-looking results.
Step 2: Apply Gel Polish Like a Pro
Here’s how you can do a gel manicure yourself, right from the comfort of your own home:
- Gather the Right Tools and Products
- Before you start, make sure you have everything you need:
- Gel polish in your desired color
- Base coat
- Top coat
- UV or LED lamp for curing
- Having the right tools and products on hand is essential for achieving the best results.
- Prep Your Nails
- Start by preparing your nails:
- Remove any old polish with nail polish remover
- Trim and shape your nails
- Gently push back your cuticles
- Apply the Base Coat
- The base coat creates a smooth surface for the gel polish to adhere to and helps protect your natural nails.
- Follow these steps to apply the base coat:
- Shake the bottle of base coat well before use
- Apply a thin, even layer of base coat to each nail, making sure to cover the entire nail surface
- Avoid getting any base coat on your cuticles or skin
- Cure Under the Lamp
- Once you’ve applied the base coat to all your nails, it’s time to cure them under the UV or LED lamp.
- Place your hand under the lamp and follow the manufacturer’s instructions for curing time. This is usually around 30 seconds to 1 minute.
- Apply the Gel Polish
- Now comes the fun part – applying the gel polish!
- Follow these tips for a professional-looking application:
- Choose a high-quality gel polish brand for better results
- Apply thin, even coats of gel polish to each nail, starting from the base and moving towards the tip
- Be careful not to apply too much polish, as this can lead to clumping or smudging
- If you accidentally get any polish on your skin or cuticles, use a clean brush dipped in nail polish remover to clean up
- Cure Under the Lamp
- After applying the gel polish to all your nails, it’s time to cure them once again under the UV or LED lamp.
- Place your hand back under the lamp and follow the manufacturer’s instructions for curing time.
- Repeat (Optional)
- Depending on the opacity of the gel polish you’re using, you may need to apply a second coat for full coverage.
- Follow the same steps as before – apply thin, even coats of gel polish and cure under the lamp.
- Seal with Top Coat
- The top coat adds shine to your manicure and helps protect the gel polish from chipping.
- Apply a thin layer of top coat to each nail, making sure to cover the entire surface. Avoid getting any top coat on your skin or cuticles.
- Final Cure
- Once you’ve applied the top coat, it’s time for one last round of curing under the UV or LED lamp.
- Follow the manufacturer’s instructions for curing time.
- Cleanse Your Nails
- After curing your nails for the final time, use a lint-free wipe soaked in rubbing alcohol to cleanse off any sticky residue left behind by the gel polish.
- Moisturize Your Hands
- Finish off your DIY gel manicure by moisturizing your hands and cuticles with a nourishing hand cream or oil.
And that’s it – you’ve successfully applied gel polish like a pro! Enjoy your beautiful, long-lasting manicure.
Step 3: The Vital Role of UV or LED Light Curing
When it comes to achieving a professional-quality gel manicure at home, the curing process is a crucial step that ensures the longevity and durability of the gel polish. After applying the gel polish in thin, even coats, it needs to be cured using a specialized UV or LED lamp. Both types of lamps work by activating photoinitiators in the gel polish, which then initiate a chemical reaction that hardens the polish and bonds it to the nail surface.
Curing Process
To make sure your gel polish stays put and adheres well to your nails, follow these steps for proper curing:
- Apply gel polish in thin, even coats.
- Place your nails under the UV or LED lamp.
- Follow the recommended curing times below based on the type of light used:
- UV Lamp: 2 minutes
- LED Lamp: 30-60 seconds
UV vs. LED Lamps
There are two main types of lamps used for gel polish curing: UV lamps and LED lamps. Here’s how they differ:
- Curing Time: UV lamps generally require longer curing times compared to LED lamps. This means that if you’re using a UV lamp, you’ll need to keep your nails under the light for around 2 minutes, while an LED lamp can cure them in just 30-60 seconds.
- Safety Considerations: LED lamps are often considered a safer option because they emit lower levels of UV radiation compared to traditional UV lamps. This reduces the risk of potential skin damage from prolonged exposure to UV rays. However, it’s important to understand the hidden dangers of improper UV nail curing and take necessary precautions.
Recommended Curing Times
It’s important to note that different gel polish brands and types may have slightly varying curing requirements. Always refer to the instructions provided by the manufacturer for specific guidance. As a general rule, here are some recommended curing times based on common gel polish brands:
- Brand A (UV): 2 minutes
- Brand B (LED): 60 seconds
- Brand C (UV or LED): 30 seconds
By understanding the vital role of UV or LED light curing in the gel manicure process and considering safety aspects, you can ensure that your at-home manicures rival those achieved at professional salons. This knowledge empowers you to take control of your nail care routines while achieving stunning, long-lasting results.
Step 4: Finishing Touches for a Professional-Looking Manicure
To achieve a salon-worthy gel manicure that lasts, it’s important to pay attention to the finishing touches. Here’s what you need to do:
Applying the Top Coat
After curing the colored gel polish, apply a thin layer of top coat to seal and protect the manicure. The top coat serves two purposes:
- Enhancing shine: It adds an extra glossy finish to your nails, making them look even more polished.
- Preventing damage: The top coat acts as a shield against everyday activities that can cause chipping and wear, such as typing on a keyboard or doing household chores.
Avoiding Harsh Contact
Once you’ve completed the entire manicure process, it’s crucial to avoid any unnecessary contact with water or harsh chemicals. Why? Because these substances can weaken the gel polish and lead to premature damage or lifting.
Here are some tips to keep in mind:
- Be mindful when washing dishes or doing any tasks that involve prolonged exposure to water, as nail polish over gel nails can cause adverse effects.
- Wear gloves when handling cleaning products or other chemicals that may come into contact with your nails, especially if you prefer using non-toxic gel nail polish for a healthier alternative.
By following these final steps, you can ensure that your at-home gel manicure looks flawless and lasts for an extended period.
Step 5: Nourish and Maintain Your Gel Manicure
Maintaining a gel manicure is essential to keep your nails looking fresh and ensure they last as long as possible. By following these steps, you can prolong the life of your gel manicure and keep your hands looking beautiful:
- Moisturize Your Hands: Regularly moisturize your hands, paying attention to your cuticles and the skin around your nails. This prevents dryness that can lead to chipping or peeling of the gel polish.
- Apply Cuticle Oil: Keep your cuticles nourished and hydrated by applying cuticle oil regularly. This helps prevent dryness and reduces the risk of damage to your gel manicure.
Remember, a gel manicure requires some extra care compared to a traditional manicure. By following these steps, you can ensure that your nails stay in great condition and your gel manicure lasts longer.
The Difference Between Gel Manicures and Traditional Manicures
When it comes to nail care, there are various options available, including gel manicures and traditional manicures. Understanding the differences between these two types of manicures can help you make an informed decision about which one is right for you. Let’s compare gel manicures to traditional manicures in terms of longevity, chip resistance, application time, and cost.
Longevity
- Gel Manicure: Gel manicures are known for their long-lasting properties. They can typically last around three weeks without chipping or peeling.
- Traditional Manicure: Traditional manicures typically last for about a week before the polish starts to chip.
Chip Resistance
- Gel Manicure: Gel polish is more durable and resistant to chips compared to regular nail polish. This makes gel manicures a popular choice for those who want their nails to stay flawless for longer periods.
- Traditional Manicure: Traditional nail polish is more prone to chipping and may require touch-ups throughout the week.
Application Time
- Gel Manicure: Getting a gel manicure can take slightly longer than a traditional manicure due to the curing process under UV or LED lights. However, the extra time is worth it for many people because of the extended wear time.
- Traditional Manicure: A traditional manicure usually takes less time as it only involves applying nail polish without any additional steps like curing under lights.
Cost
- Gel Manicure: Gel manicures tend to be more expensive than traditional manicures due to the use of specialized gel polish and the longer-lasting results they provide. Prices can vary depending on location and salon.
- Traditional Manicure: Traditional manicures are generally more affordable since they use regular nail polish and require fewer products.
In summary, gel manicures offer greater longevity and chip resistance compared to traditional manicures. However, they do require a longer application time and can be more expensive. Traditional manicures are quicker and more budget-friendly, but the polish may not last as long. Ultimately, the choice between gel and traditional manicures depends on your personal preferences and priorities.
Ensuring Safety When Using Gel Nail Products
When it comes to gel manicures, there are some important safety considerations to keep in mind to ensure the health and well-being of your nails. In this section, we will discuss these considerations, including minimizing UV light exposure and considering LED lamps as a potentially safer alternative. We will also emphasize the need for proper gel polish removal techniques to maintain nail health.
Minimize UV Light Exposure
UV lamps are commonly used to cure gel polish during manicures. However, prolonged exposure to UV light can increase the risk of skin damage, including premature aging and even skin cancer. To minimize exposure, you can:
- Apply a broad-spectrum sunscreen with an SPF of 30 or higher on your hands before using the UV lamp.
- Wear fingerless gloves or use finger shields that only expose your nails during the curing process.
- Limit the frequency and duration of gel manicures to reduce overall UV exposure.
Consider LED Lamps as a Safer Alternative
LED lamps emit lower levels of UV radiation compared to traditional UV lamps. They cure gel polish faster and are generally considered safer for both your skin and eyes. If possible, opt for salons that use LED lamps or consider purchasing an LED lamp for at-home use.
Practice Proper Gel Polish Removal
Improper removal of gel polish can damage natural nails and lead to thinning or weakening of the nail bed. To avoid this, follow these steps:
- Soak cotton pads in acetone-based nail polish remover.
- Place the soaked cotton pads on your nails and wrap them with aluminum foil.
- Let it sit for about 10-15 minutes to allow the acetone to break down the gel polish.
- Gently remove the foil wraps and use a cuticle pusher or orangewood stick to gently push off the softened gel polish.
- Avoid scraping or filing the nails excessively during removal to prevent damage.
By following these safety considerations and proper removal techniques, you can enjoy the benefits of gel manicures while maintaining the health and strength of your natural nails.
The Proper Way to Remove Gel Polish
When it comes to gel manicures, proper removal technique is just as important as the application process. Removing gel polish incorrectly can lead to damage and weaken the natural nails. Here are some tips to safely remove gel polish at home while minimizing damage:
- Gather your supplies: Before you begin, make sure you have all the necessary supplies ready. You will need acetone, cotton balls or pads, aluminum foil, a cuticle pusher or wooden stick, and a nail file.
- File the top layer: Gently file the top layer of the gel polish with a nail file. This will help break the seal and allow the acetone to penetrate the polish more effectively.
- Soak cotton in acetone: Soak cotton balls or pads in acetone and place them on each nail. Make sure the cotton is saturated but not dripping.
- Wrap with foil: Wrap each fingertip with aluminum foil to hold the soaked cotton in place. This creates a barrier and helps to trap heat, accelerating the removal process.
- Wait and relax: Leave the foil wraps on for about 10-15 minutes to allow the acetone to dissolve the gel polish. Take this time to relax and pamper yourself.
- Remove foil wraps: After 10-15 minutes, gently remove the foil wraps from each finger. The gel polish should appear soft and easily removable.
- Gently push off gel polish: Use a cuticle pusher or wooden stick to gently push off any remaining gel polish from your nails. Be careful not to scrape too hard or damage your natural nails.
- Moisturize: Once all the gel polish has been removed, rinse your hands with warm water and apply a moisturizing lotion or cuticle oil to rehydrate your nails and skin.
Remember, if you encounter any difficulties or stubborn gel polish, it’s best to seek professional help. A nail technician can safely remove the gel polish without causing damage to your natural nails.
By following these proper removal techniques, you can maintain healthy nails and ensure a smooth transition between gel manicures.
Conclusion
Gel manicures offer a convenient and durable solution for beautiful nails. By following the safety tips and proper removal techniques, you can enjoy stunning gel manicures that reflect your unique style.