How to Fix Broken Makeup At Home, According to Makeup Artists

Introduction
Fixing broken makeup is a valuable skill that can save you money and reduce waste. Makeup artists are experts in this area, often using creative techniques to salvage damaged products.
In this article, we will explore practical ways to fix broken makeup at home, taking cues from professional makeup artists. These methods can help you prolong the lifespan of your beloved products and tap into your artistic side.
1. Use a Specialized Repair Kit like Moon Mousse
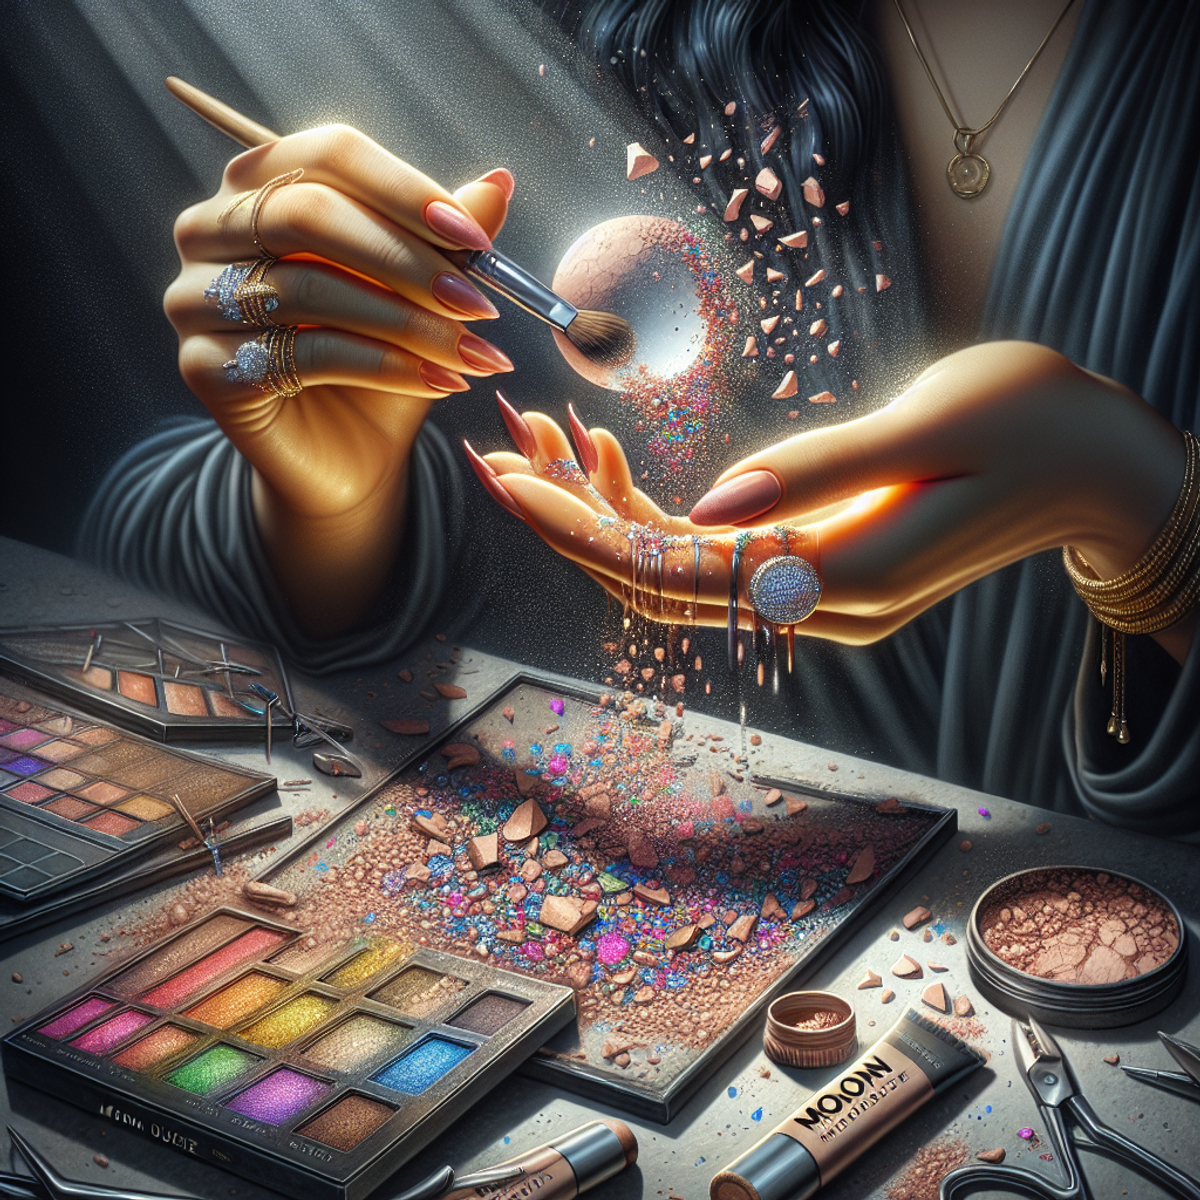
When it comes to fixing broken makeup, one convenient and effective method is to use a specialized repair kit like Moon Mousse. This popular kit is specifically designed to help you salvage your broken powders, blushes, eyeshadows, and more. Let’s take a closer look at how the Moon Mousse repair kit can come to your rescue:
Components of the Moon Mousse Repair Kit
The Moon Mousse repair kit includes three essential components that work together seamlessly to fix your broken makeup:
- Mousse: The mousse is the key ingredient in this repair kit. It acts as a binding agent that helps restore the broken powder back to its original form. The mousse is easy to work with and ensures a smooth and seamless finish.
- Spatula: The spatula included in the kit is used to break the remaining pieces of your broken makeup into a fine powder. This step is crucial for achieving the desired consistency and texture.
- Dual-ended Press Tools: These press tools are designed to pack the powder back into the pan or container. They help you create a compact and sturdy surface that resembles the original product.
Step-by-Step Guide to Fixing Broken Makeup with Moon Mousse
Here’s how you can effectively use the Moon Mousse repair kit to fix your broken makeup:
- Begin by breaking the remaining pieces of your broken product into a fine powder using the spatula provided in the kit.
- Once you have achieved a smooth powder consistency, apply a small amount of mousse to the pan or container.
- Using one end of the dual-ended press tool, gently press the powder into place, ensuring it fills up any empty spaces left by the breakage.
- For an even finish, use the other end of the press tool to smooth out any imperfections and create a seamless surface.
- Leave the repaired product to dry overnight. This will allow the mousse to set and restore the original form of your makeup.
Benefits of Using a Specialized Kit like Moon Mousse
Using a specialized repair kit like Moon Mousse offers several benefits:
- Seamless Results: The mousse and press tools provided in the kit ensure that your repaired makeup looks seamless and professional. You won’t be able to tell that the product was ever broken.
- Extended Product Life: By fixing your broken makeup instead of discarding it, you can extend its lifespan and get more use out of it. This not only saves you money but also reduces waste.
By having a specialized repair kit like Moon Mousse on hand, you can quickly and effectively fix any broken powders or makeup products without compromising on quality. It’s an investment that will come in handy time and time again.
2. Try Depotting Your Makeup
Depotting is not only a great way to save broken makeup but also to customize your palette. It involves transferring products from their original packaging to separate containers called palettes. Here’s how you can depot your makeup and fix broken powders:
Benefits of Depotting
- Space-saving: Depotting allows you to condense multiple products into a single palette, saving valuable space in your makeup collection.
- Easy accessibility: By depotting your makeup, you can have all your favorite shades in one place, making it easier to create different looks without digging through individual packaging.
Tools Required for Depotting
To successfully depot your makeup, you will need the following tools:
- Straightening iron: This tool is used to melt the glue that holds the product in its original packaging.
- Parchment paper: Placing a sheet of parchment paper between the straightening iron and your makeup helps protect the product from direct heat.
- Empty palettes: These are the containers where you will transfer your depotted products.
Step-by-Step Tutorial on Depotting Makeup
- Start by gathering the products you want to depot and ensuring they are clean and dry.
- Preheat your straightening iron to a low or medium setting. Remember, too much heat can damage the product or alter its consistency.
- Place a small piece of parchment paper on the straightening iron’s plate.
- Take the makeup item you wish to depot and gently press it against the hot parchment paper for a few seconds. This will help loosen the glue holding it together.
- Using a tool like a knife or a pin, carefully pry open the packaging from an edge that seems less delicate. Be cautious not to break or damage the product during this process.
- Once you have removed the product from its original packaging, use rubbing alcohol and a cotton swab to clean off any remaining glue or residue.
- Transfer the depotted product to an empty palette. You can use a spatula or the back of a spoon to scoop out the product and press it into the new container.
- If you have a broken powder, grind it into a fine powder using a mortar and pestle or by placing it in a plastic bag and gently tapping it with a hammer or similar object.
- Add a few drops of rubbing alcohol to the ground powder and mix it until it forms a paste-like consistency.
- Press the reconstituted powder into the new pan using your fingers or a pressing tool. Smooth out the surface with your finger or the back of a spoon.
- Allow the pressed powder to dry overnight, ensuring it is fully set before using it.
Depotting for Beginners
If you’re new to depotting, this beginner’s guide provides some helpful tips and insights shared by experienced makeup enthusiasts.
Creative Uses for Depotting
Depotting opens up endless possibilities for customization
3. Other Techniques for Fixing Broken Makeup
When it comes to fixing broken makeup, there are alternative methods that don’t require specialized repair kits or depotting. These techniques are handy for quick fixes and can help salvage your favorite products without much hassle.
Tapping Technique for Compact Powders
If you have a compact powder that has developed cracks or is on the verge of breaking, you can use the tapping technique to redistribute the product and minimize the risk of further breakage. Simply tap the product gently with your finger or a small tool to even out the surface without pressing too hard.
Smudging Technique for Creamy Products
For creamy makeup products like lipstick or concealer that have broken, the smudging technique can be effective. By warming the product between your fingers, you can make it more malleable and easier to use despite being broken. This method helps in making the product usable until you find a more permanent solution.
Utilizing Broken Powders as Loose Powder Alternatives
If you have a broken powder product that is beyond repair, consider repurposing it as loose powder. By breaking it down further into a fine powder, you can use it as a setting powder for your makeup routine. This allows you to make the most out of a damaged product without having to discard it entirely. If you’re looking for tips on how to make your makeup last longer throughout the day, this Quora thread might be helpful.
Restoring Broken Powders as Pressed Powders with Rubbing Alcohol
Another handy technique involves restoring broken powders, such as eyeshadows or blushes, as pressed powders with the help of rubbing alcohol. By grinding the broken powder into a fine consistency, pouring it into a clean pan, adding some rubbing alcohol to create a paste, pressing it firmly, and allowing it to dry, you can salvage the product and maintain its usability. You can find detailed instructions on this art conservation forum that explain the process step-by-step.
These alternative methods provide practical solutions for common makeup mishaps and offer ways to extend the life of your favorite products without investing in specialized repair kits or complex procedures. If you’re interested in how other people tackle makeup challenges posed by sweat or humidity, this Reddit thread might have some useful insights.
Remember that creativity and resourcefulness play a significant role in makeup maintenance, so feel free to explore variations of these techniques based on your specific needs and preferences.
4. Dealing with Specific Makeup Items
When it comes to fixing broken makeup, certain items like lipstick and mascara require specialized techniques. Here are some expert tips for addressing common issues with these specific makeup items:
Fixing Broken Lipstick
If you’ve accidentally broken your favorite lipstick, don’t fret. You can salvage it using the following methods:
- Freezing and Bonding: Place the broken pieces in the freezer for a few hours to harden them. Once they are firm, carefully bond the pieces together. This method can help restore the lipstick to its original shape.
- Repurposing: Alternatively, consider repurposing the broken lipstick into separate containers such as empty lip balm pots. Melt the broken pieces and pour them into the containers to create your custom lip products.
Dealing with Clumpy Mascara
Clumpy mascara can be a common frustration, but there’s a simple technique to revive it:
- Boiling Technique: To address clumpy mascara, place the closed tube in warm water for a few minutes to soften the formula. This will help restore the mascara’s smooth consistency for effortless application.
By employing these targeted methods, you can effectively tackle specific makeup mishaps and extend the life of your favorite products.
Knowing When to Say Goodbye: Discarding Unfixable Makeup Items
It is important to be able to identify when a makeup item is beyond repair, as using such products can lead to skin irritation or infection. Here are some key points to keep in mind when deciding whether to discard unfixable makeup items:
1. Shattered Glass Containers
Makeup items with shattered glass containers should be discarded immediately. The broken glass poses a serious safety hazard and can cause cuts or injuries. Additionally, shards of glass may contaminate the product, making it unsafe for use on the skin.
2. Expired Products
Expired makeup products lose their efficacy and can harbor harmful bacteria. It’s crucial to regularly check the expiration dates on your makeup items and dispose of any that have passed their shelf life. Using expired products can irritate the skin and may lead to infections.
3. Contaminated Products
If a makeup item has come into contact with bacteria or has been contaminated in any way, it is best to discard it. This includes products that have been dropped on the floor, exposed to moisture, or shared with others without proper hygiene precautions. Using contaminated makeup can cause breakouts, infections, or allergic reactions.
4. Changes in Texture, Smell, or Color
Pay attention to any changes in the texture, smell, or color of your makeup products. If a product has developed an unusual odor, changed color significantly, or become clumpy or dried out, it is a sign that it may have gone bad and should be discarded.
When disposing of unfixable makeup items, it is important to consider both environmental and personal safety aspects:
- Proper disposal methods vary depending on the type of product and its packaging materials. You can refer to this cosmetics disposal guide for more information on how to dispose of different types of makeup items responsibly.
- Many cosmetic companies have initiated recycling programs to reduce waste. Whenever possible, recycle packaging materials such as plastic containers or cardboard boxes according to local recycling programs.
- If recycling options are not available, securely seal the unfixable makeup item in a plastic bag before disposing of it in the regular trash. This helps prevent leakage and contamination of other waste.
- Always be mindful of the environmental impact of your actions and strive to minimize waste whenever possible.
By being able to identify when a makeup item is beyond repair and properly disposing of it, you are prioritizing both your personal safety and the environment. Remember, using broken or unfixable makeup items can lead to skin damage and compromise your overall makeup application. It is better to invest in new, safe products that will provide you with the desired results without any risks to your skin health.
Conclusion
Fixing broken makeup at home can be empowering. By embracing creativity and resourcefulness, you can try out the methods shared here, reclaiming your favorite products and saving money in the process.
As you explore the world of DIY makeup repairs, consider seeking further inspiration and knowledge from online forums or workshops conducted by professional makeup artists. These platforms offer valuable insights, makeup tips, and tricks that can enhance your skills in repairing and maintaining your makeup collection.
Remember, with a little know-how and the right tools, you can breathe new life into your beloved cosmetics, ensuring that no broken palette or shattered lipstick goes to waste. Happy repairing!


