How to Tightline Your Eyes With Eyeliner, Step-by-Step
Introduction
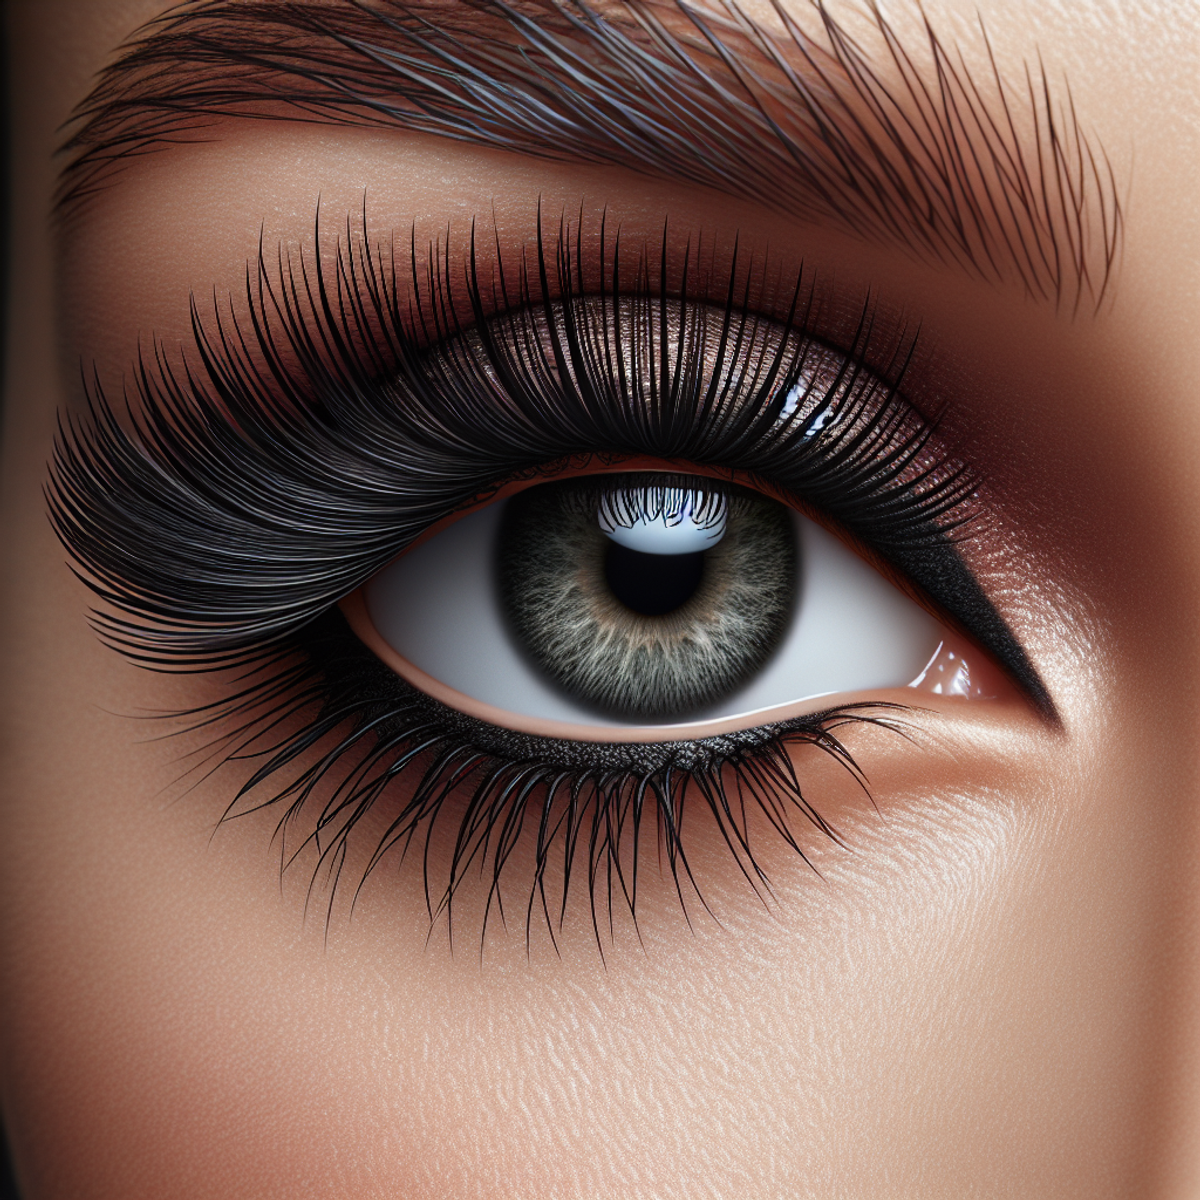
Tightlining is a popular technique in the world of makeup that involves applying eyeliner to the upper and lower waterlines. This creates the illusion of thicker lashes and a bolder lash bed. In this step-by-step guide, we will explore how to achieve the perfect tightlined eyes using eyeliner.
Definition and Purpose of Tightlining
Tightlining is a technique used to enhance the appearance of the eyes by filling in the gaps between the lashes with eyeliner. By applying eyeliner to the waterline, it gives the illusion of fuller lashes and adds depth to the lash line.
Benefits of Tightlining with Eyeliner
There are several benefits to tightlining with eyeliner:
- Natural Look: Tightlining helps create a more natural look compared to traditional eyeliner application on the eyelid.
- Thicker Lashes: By filling in the gaps between the lashes, tightlining gives the appearance of thicker and fuller lashes.
- Enhanced Eye Shape: Tightlining can enhance your eye shape by making them appear larger or more defined.
- Long-Lasting: When done correctly with waterproof eyeliners, tightlining can last all day without smudging or fading.
Overview of the Step-by-Step Process
In this article, we will guide you through each step of tightlining your eyes with eyeliner. Here’s a brief overview:
- Choosing the Right Eyeliner for Tightlining
- Preparing Your Eyes for Tightlining
- Step-by-Step Guide to Tightline Your Eyes With Eyeliner: Upper Waterline Application
- Step-by-Step Guide to Tightline Your Eyes With Eyeliner: Feathering Between the Lashes (Optional Method)
- Enhancing the Tightlined Look with Additional Tips and Tricks
- Expert Advice for Perfecting Your Tightlined Eyes
Throughout this guide, we will provide expert tips and tricks to help you achieve flawless tightlined eyes. So, grab your favorite eyeliner and let’s get started!
1. Choosing the Right Eyeliner for Tightlining
When it comes to tightlining your eyes with eyeliner, selecting the right product is essential for achieving the desired effect and ensuring long-lasting results. There are several types of eyeliners available, each with its own pros and cons. Here’s a breakdown of the different options and factors to consider when choosing an eyeliner for tightlining:
Types of Eyeliners for Tightlining
Sharpened Pencils
- A popular choice for tightlining due to their precision and control during application
- Available in various formulas, including creamy and matte finishes
- Versatile option that can be easily smudged or blended for a softer look
- Non-waterproof formulas may smudge or fade throughout the day
Waterproof Pencils
- Specifically designed to resist water, sweat, and humidity
- Ideal for tightlining due to their excellent staying power
- Offer intense pigmentation and available in both matte and shimmery finishes
- Can be more difficult to remove at the end of the day
Gel Eyeliners
- Typically come in pots and require the use of a brush for application
- Offer a smooth and creamy texture, allowing for precise lines
- Known for their long-lasting formula and smudge-proof finish
- Perfect for creating dramatic looks or achieving a flawless winged liner effect
- May require some practice to master the application technique
Factors to Consider When Choosing an Eyeliner
1. Longevity
Opt for a waterproof or long-lasting formula such as those detailed in this Urban Decay eyeliner review to ensure that your tightlined eyes stay intact throughout the day.
2. Pigmentation
Look for an eyeliner with intense color payoff to create a bold and defined look. This is especially important if you’re going for a dramatic effect.
3. Ease of Application
Consider the type of eyeliner that you find most comfortable to work with. Some people prefer the precision of sharpened pencils, while others may enjoy the smooth application of gel eyeliners which are known for their creamy texture and precise lines.
4. Finish
Decide whether you want a matte or shimmery finish for your tightlined eyes. This will depend on your personal preference and the overall look you’re trying to achieve.
By considering these factors and understanding the different types of eyeliners available, you can choose the right product that suits your needs and helps you achieve flawless tightlined eyes. Experiment with different formulas, like those compared in this eyeliner battle, to find the one that works best for you, and don’t be afraid to mix and match to create unique looks.
2. Preparing Your Eyes for Tightlining
Tightlining your eyes requires proper preparation to ensure a long-lasting and smudge-free result. Here are key points to consider before you start tightlining:
- Using waterproof eyeliners for longevity: When tightlining, it’s crucial to use waterproof eyeliners to prevent smudging and ensure that the color stays vibrant throughout the day. Waterproof formulas are designed to withstand moisture and natural eye secretions, making them ideal for tightlining, especially on the waterline.
- Setting the eyeliner with powder to prevent smudging: After applying the eyeliner, you can gently dab a matching or translucent eyeshadow powder over the liner to set it in place. This extra step helps to absorb any excess moisture and oil, preventing the eyeliner from smudging or transferring onto the lower lash line.
- Tips for preparing the eyes before tightlining: Before tightlining, ensure that your eyes are clean and free from any residual makeup or oils. Use a gentle makeup remover or micellar water to thoroughly cleanse the eye area, paying close attention to the waterline. Additionally, gently patting a small amount of translucent powder along the waterline can help absorb any remaining moisture and provide a smooth surface for the eyeliner application.
By incorporating these preparatory steps into your tightlining routine, as discussed in this insightful article on waterline eyeliner trends, you can create a flawless and long-lasting result while minimizing the risk of smudging or fading throughout the day.
3. Step-by-Step Guide to Tightline Your Eyes With Eyeliner: Upper Waterline Application
Tightlining is a technique that involves applying eyeliner to the upper and lower waterlines to create the illusion of thicker lashes and a bolder lash bed. In this section, we will focus on the step-by-step process for tightlining your eyes specifically on the upper waterline.
Step 1: Prepping the eyes
Before you begin the tightlining process, it’s essential to prepare your eyes properly. Here are a few tips to follow:
- Start by cleansing your eye area thoroughly to remove any dirt or oil that may interfere with the application.
- Apply an eye primer or a small amount of concealer on your eyelids to create a smooth base for the eyeliner.
- If you have particularly oily eyelids, consider using an oil-absorbing eyeshadow primer to prevent smudging throughout the day.
Step 2: Choosing the right eyeliner and tool
When it comes to tightlining, choosing the right eyeliner is crucial for achieving a precise and long-lasting result. Here are some options to consider:
- Waterproof Pencil Eyeliner: This type of eyeliner is easy to use and provides excellent control. Look for a waterproof formula that won’t smudge or fade throughout the day.
- Gel Eyeliner: Gel eyeliners offer intense pigmentation and longevity. They usually come in pots and require an angled brush for application.
- Liquid Eyeliner: While liquid eyeliners are not typically used for tightlining, they can be suitable for those with steady hands and more advanced makeup skills.
To apply the eyeliner accurately, use a small, flat brush or an angled brush for better precision. Make sure your brush is clean and free from excess product before starting.
Step 3: Technique for full upper waterline application
Now that you’ve prepped your eyes and chosen the right eyeliner and tool, it’s time to start tightlining your upper waterline. Here’s how:
- Gently lift your eyelid using your non-dominant hand to expose the upper waterline.
- With your dominant hand, hold the brush or pencil at a slight angle and apply the eyeliner directly to the upper waterline.
- Start from the inner corner of your eye and work your way towards the outer corner, ensuring that you fill in any gaps between your lashes.
- Use short, feathery strokes for a more natural look or apply more pressure for a bolder effect.
- If necessary, repeat the process to intensify the color and create a seamless line.
Remember to take it slow and be gentle during the application process. Practice makes perfect, so don’t worry if you don’t get it right on your first try. Experiment with different techniques and products to find what works best for you.
Tightlining your eyes on the upper waterline can enhance the appearance of your lashes and make them appear fuller. In the next section, we will explore an optional method called “feathering between the lashes” for those looking to achieve an even more natural look.
4. Step-by-Step Guide to Tightline Your Eyes With Eyeliner: Feathering Between the Lashes (Optional Method)
Feathering between the lashes is another technique for tightlining that can create a softer and more natural look. This method involves applying eyeliner directly into the spaces between your lashes to fill in any gaps and add definition. Here’s a step-by-step guide on how to achieve this look:
Step 1: Prepping the eyes
Before you begin, make sure your eyes are clean and free of any makeup or oils. Use a gentle cleanser or makeup remover to thoroughly cleanse your eyelids and lashes. This will help the eyeliner adhere better and prevent smudging.
Step 2: Choosing the right eyeliner and tool
For feathering between the lashes, it’s best to use a fine-tipped eyeliner pencil or a gel eyeliner with a small brush. These tools will allow you to get close to the lash line and create precise strokes.
When selecting an eyeliner color, opt for a shade that matches your natural lashes or is slightly darker for a subtle enhancement. Black or dark brown are popular choices.
Step 3: Technique for feathering between the lashes
- Hold the eyeliner pencil or brush parallel to your lash line, with the tip pointing towards your lashes.
- Starting from the inner corner of your eye, gently press the liner into the spaces between your lashes.
- Use short, feathery strokes to fill in any gaps and create a seamless line.
- Continue applying the liner all along your upper lash line, working towards the outer corner of your eye.
- For a more intense look, you can go over the line again to darken it.
Remember to be gentle when applying the liner and avoid tugging on your lashes. Take your time and build up the intensity gradually until you achieve your desired look.
Feathering between the lashes can give your eyes a natural and fuller appearance. It’s a great option for those who want a more subtle tightlining technique or have sparse lashes that need extra definition.
5. Enhancing the Tightlined Look with Additional Tips and Tricks
When it comes to enhancing the tightlined look, there are several tips and tricks you can use to elevate your eyeliner game and achieve a flawless finish.
Using Eyeshadow to Make Tightlining Last Longer
Incorporating eyeshadow into your tightlining routine can help prolong the longevity of your look. After tightlining your eyes, gently press a matching eyeshadow shade onto the liner using an angled brush. This not only sets the eyeliner in place but also adds an extra layer of color intensity, ensuring that your tightlined eyes stay vibrant throughout the day.
Tips for Creating Different Effects with Tightlining (Natural vs. Dramatic)
Tightlining offers a versatile canvas for creating diverse effects, ranging from natural to dramatic looks. For a natural appearance, opt for a subtle application by lightly depositing color along the waterline, focusing on enhancing the lash line without overpowering the eyes. To achieve a more dramatic effect, intensify the tightlining process by layering the liner for bold definition and depth, resulting in a captivating and impactful gaze.
Adding Weight and Fullness to the Lash Line Through Tightlining
One of the key benefits of tightlining is its ability to add weight and fullness to the lash line, creating the illusion of thicker and denser lashes. By carefully filling in the spaces between each lash with eyeliner, you can achieve a lush and voluminous lash bed that beautifully frames your eyes. This technique not only enhances your natural lashes but also complements any mascara application, elevating your overall eye makeup look.
By incorporating these additional tips and tricks into your tightlining routine, you can elevate your eye makeup game and achieve a stunning, long-lasting result that enhances your natural beauty.
6. Expert Advice for Perfecting Your Tightlined Eyes
When it comes to achieving the best tightlined look, there are some expert tips that can take your technique to the next level. These insights can help you enhance your overall eye makeup and ensure a flawless finish.
Expert Tips for Achieving the Best Tightlined Look
Tightlining requires precision and attention to detail. To achieve the best results, consider these expert tips:
- Use a magnifying mirror: This will allow you to see the fine details of your lash line and ensure accurate application.
- Opt for a creamy formula: Creamy eyeliners are easier to apply and provide a smooth, consistent line along the waterline.
- Practice steady hand movements: Rest your elbow on a stable surface to maintain control and avoid smudges or uneven lines.
Importance of Curling Lashes Before Tightlining
Curling your lashes before tightlining is an essential step that should not be overlooked. By curling your lashes beforehand, you create a lifted effect that complements the tightlined look. The curled lashes will frame your eyes beautifully and add an extra touch of elegance to your overall appearance.
Additional Tips and Tricks for Flawless Tightlining
In addition to curling your lashes, there are other tips and tricks that can contribute to flawless tightlining:
- Clean your waterline: Ensure that your waterline is free from any debris or excess oils before applying eyeliner. If you’re concerned about using traditional eyeliner on your waterline, you could try alternatives like using eyeshadow instead for a softer look.
- Experiment with different tools: Consider using a fine-tipped brush or an angled liner brush for precise application in hard-to-reach areas.
- Layer your eyeliner: For enhanced longevity, layering a gel or waterproof pencil liner over a traditional pencil can ensure long-lasting results.
- Proper makeup application techniques can also greatly enhance the overall tightlined look.
By incorporating these expert recommendations into your tightlining routine, you can elevate the overall impact of this eye-enhancing technique. Remember that practice makes perfect, so don’t hesitate to experiment with different methods until you find what works best for you. If you’re still looking for additional insights and personal experiences in perfecting the tightlined look, platforms like Reddit can be a valuable resource.”.
Conclusion
After following this step-by-step guide, you now have the knowledge and techniques to achieve the perfect tightlined eyes. By mastering the art of tightlining, you can enhance your lash line, create the appearance of fuller lashes, and achieve a more defined and polished eye makeup look.
Here are some final thoughts on achieving the perfect tightlined eyes:
- Practice makes perfect: Like any makeup technique, tightlining requires practice to master. Don’t be discouraged if your first attempt isn’t flawless. Keep practicing and experimenting with different products and techniques until you find what works best for you.
- Choose the right eyeliner: When selecting an eyeliner for tightlining, consider factors such as its longevity, smudge-proof formula, and ease of application. Waterproof pencil liners or gel eyeliners are excellent options for long-lasting results.
- Prep your eyes: Before tightlining, make sure to prep your eyes properly by removing any excess oil or makeup residue. This will ensure that the eyeliner adheres better to the waterline and lasts longer throughout the day.
- Enhance the look further: To enhance the tightlined look even more, consider using eyeshadow to set the liner and make it last longer. You can also experiment with different effects by varying the thickness of the line or creating a more natural or dramatic look.
Remember, tightlining is all about enhancing your natural beauty and creating definition around your eyes. Feel free to adapt these techniques to suit your personal style and preferences.
So go ahead and give tightlining a try! With a little practice and the right tools, you’ll be able to achieve beautifully defined eyes that make a lasting impression.


